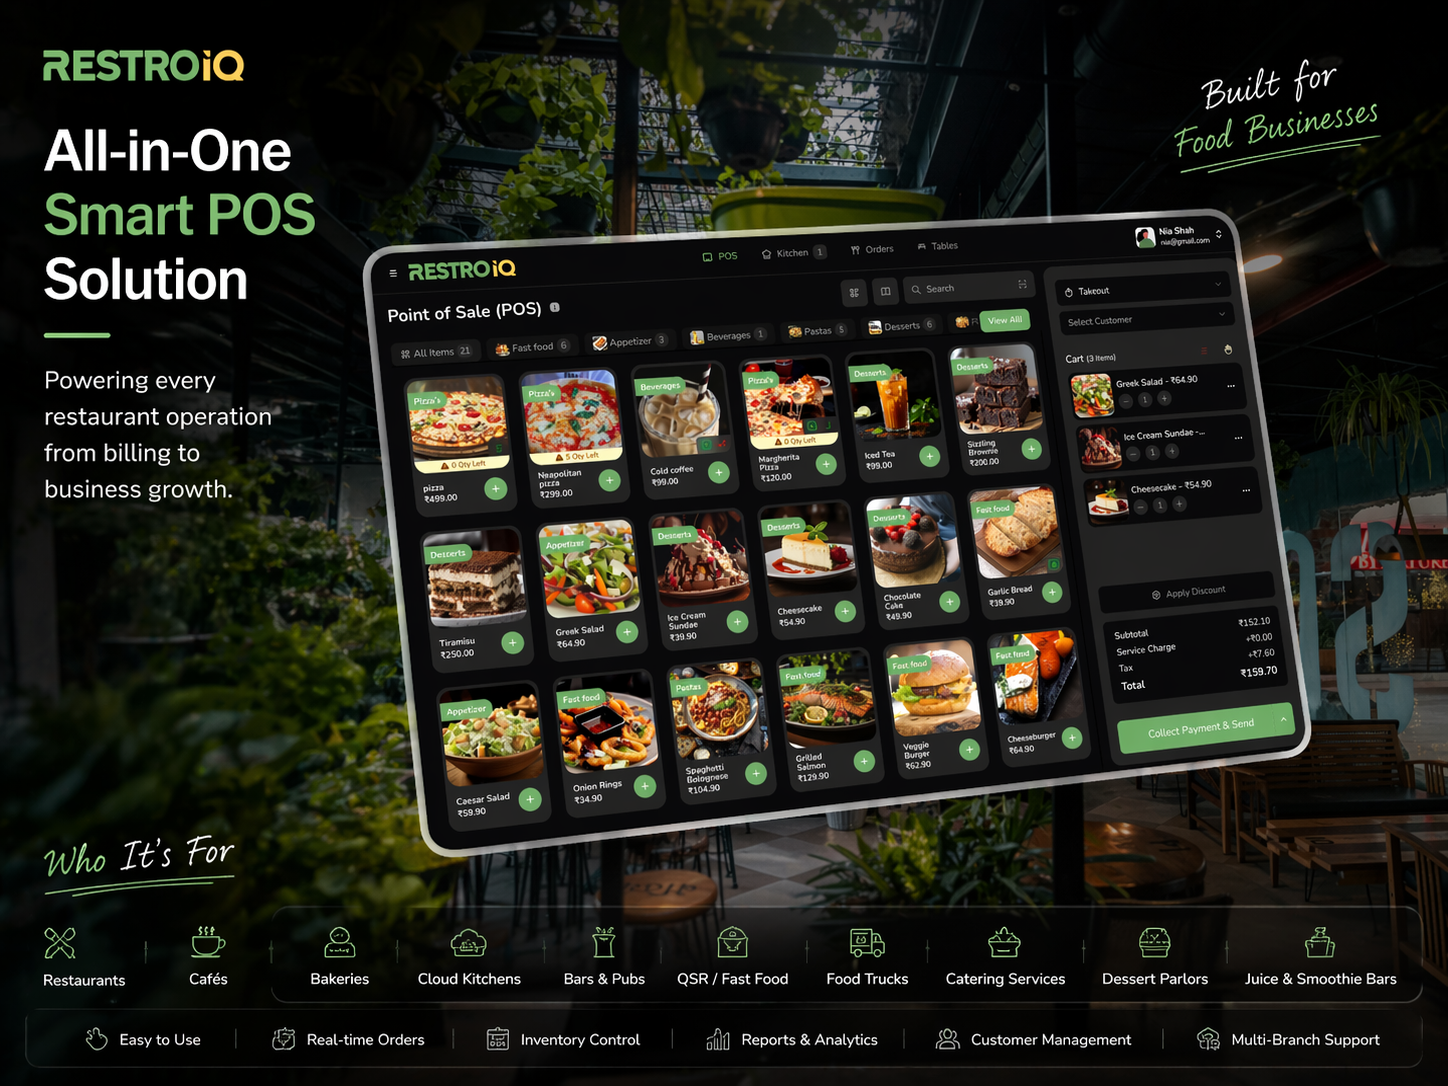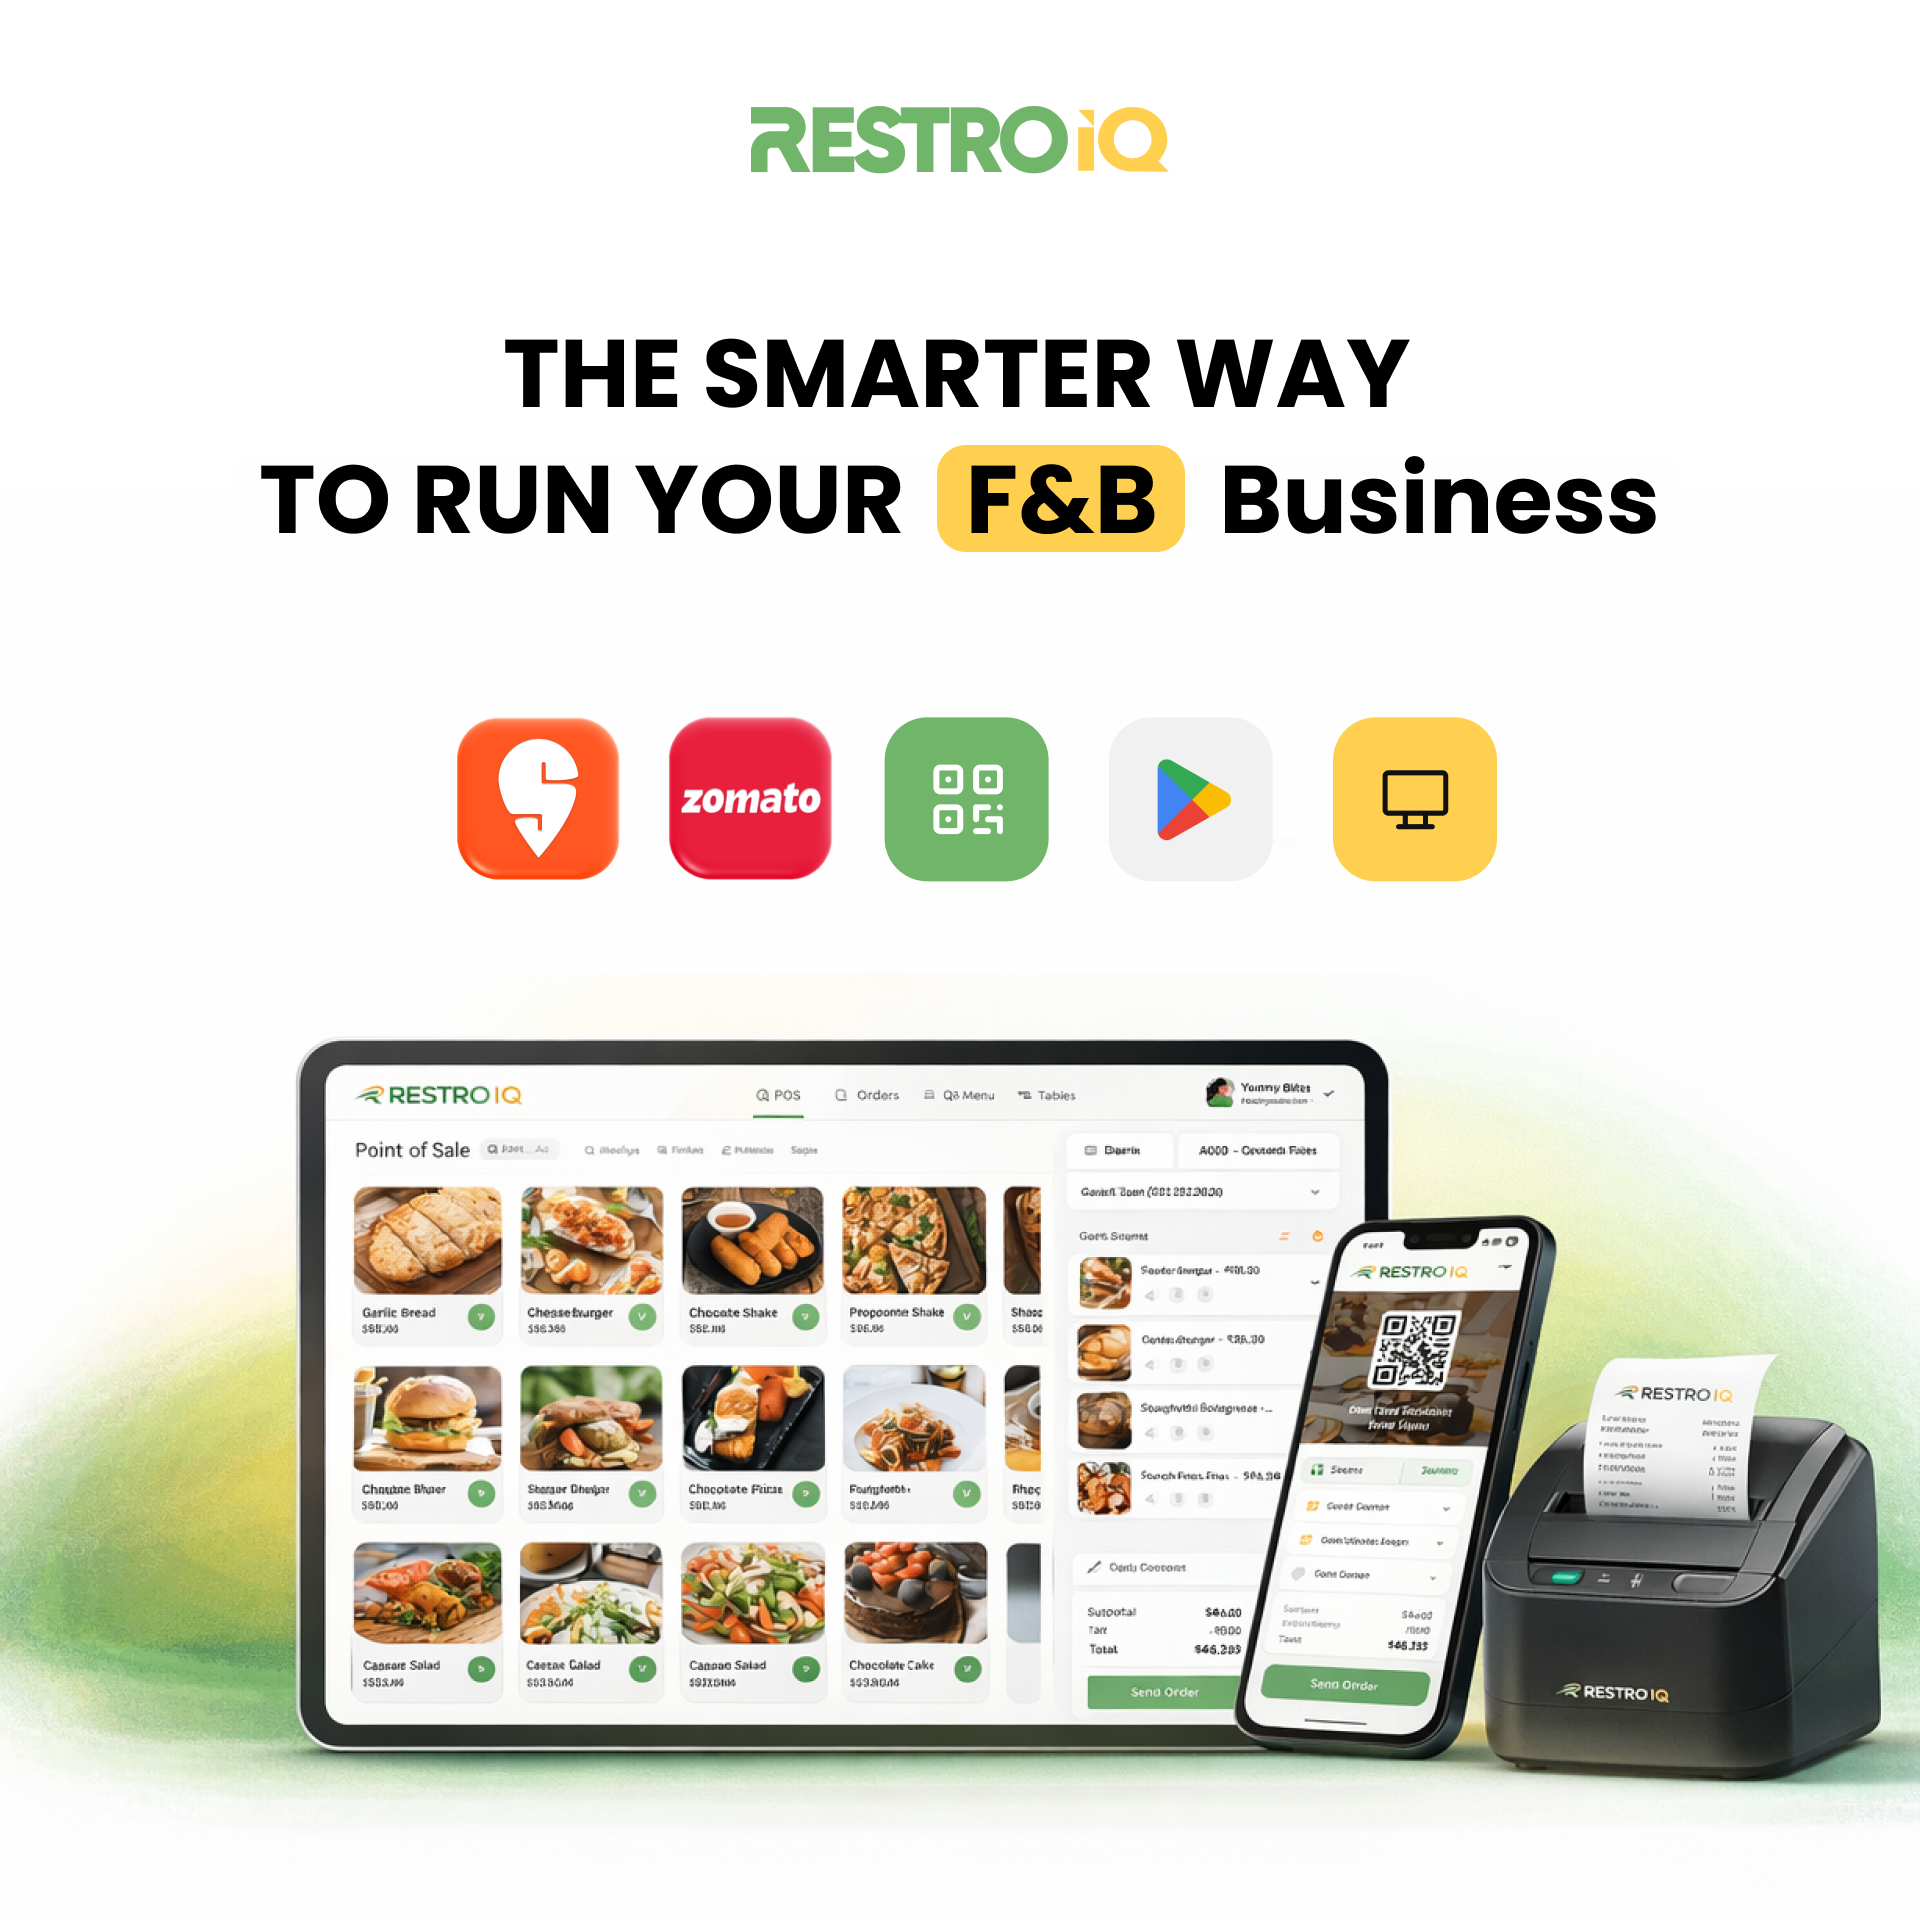
To start using RestroIQ, go to app.restroiq.com/signup, create your account in 8 quick steps, choose a monthly or yearly plan, and follow the guided setup inside the dashboard. The whole thing — signup, plan, menu, first bill — takes most restaurant owners less than 10 minutes. No sales calls, no "request a demo and wait", no technician visit. This is the official step-by-step guide.
RestroIQ setup in one line
Sign up at app.restroiq.com/signup → verify your email and WhatsApp → set a password → pick a plan (monthly or yearly) → add your menu in the guided setup → take a test order. Done in under 10 minutes.
What you need before you start
New to the product? Start with what RestroIQ is. RestroIQ signup is fully self-serve, so you only need three things:
- A work email address — this becomes your sign-in and where invoices land.
- An Indian mobile number on WhatsApp — used for secure sign-in verification and account messages.
- Your menu (even a rough list) — you can type items in one by one or bulk import from a ready-made template.
Part 1 — Create your RestroIQ account (about 3 minutes)
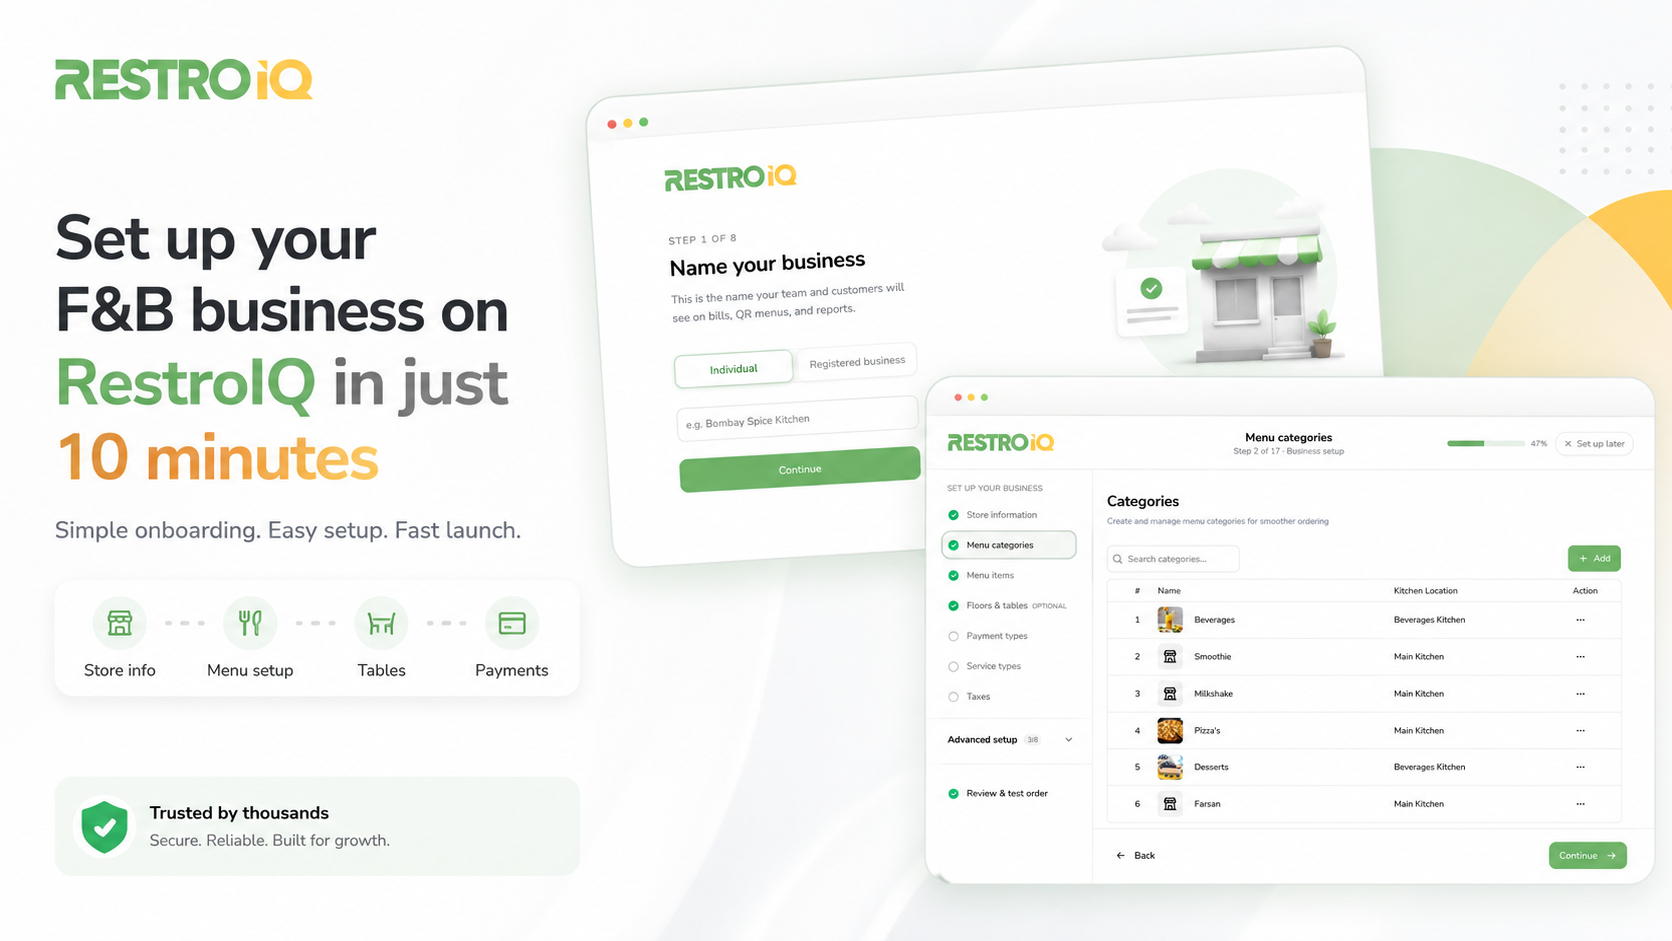
Go to app.restroiq.com/signup. The signup wizard has 8 short steps with a progress bar on top — each screen asks for exactly one thing:
- Name your business — the name your team and customers will see on bills, QR menus and reports. You can refine it later in settings.
- Your full name — you become the primary owner of the account and the main contact for setup and support.
- Work email address — used for sign-in, invoices, billing updates and security alerts.
- Confirm your email — enter the 6-digit verification code we send you.
- WhatsApp mobile number — India mobile numbers, used for admin sign-in verification and important account messages.
- Confirm your WhatsApp — enter the 6-digit code sent to you on WhatsApp.
- Create your password — a secure password for your admin workspace; changeable anytime from settings.
- Choose your plan — pick monthly or yearly billing and the plan that fits (more on this below). You can also close signup here and pick a plan later from inside the app.
Have a coupon or referral code?
If you were given a discount coupon, it is applied at checkout — links like restroiq.com with a coupon carry it through signup automatically, or you can enter it on the payment screen.
Part 2 — Pick a plan: monthly or yearly, your choice (about 2 minutes)
RestroIQ gives you full billing flexibility. On the plan screen you can toggle between monthly and yearly billing — start monthly to try it with zero long-term commitment, or go yearly for the best price. Every plan includes unlimited users, unlimited report downloads and full data import/export. There are no hidden add-ons and no per-terminal charges.
Monthly plans for each tier are shown on the same screen — see live prices for both cycles on the pricing page. When a free trial is running on a plan, it is clearly marked and you can start on the trial first.
After you pick a plan, add your billing details (business address, and GSTIN if you have one — this makes every RestroIQ invoice GST-compliant) and pay securely online via UPI, card or netbanking. The moment payment succeeds, your workspace activates automatically — no waiting for a human to "approve" your account.
Part 3 — Guided onboarding: set up your restaurant (about 5 minutes)
When you land in the dashboard, RestroIQ opens a guided setup that walks you through your restaurant step by step. It uses the exact same screens you will use day-to-day — nothing to relearn later — and you can skip any step and come back to it anytime. The core steps:
- Store information — confirm your outlet name, logo and currency.
- Menu categories — group your menu: Starters, Main Course, Beverages…
- Menu items — add items one by one, or bulk import your entire menu from the ready-made template in one go.
- Floors & tables — for dine-in; skip it if you only do takeaway or delivery.
- Payment types — Cash, UPI and Card are pre-configured; add your own and confirm.
- Service types — Dine In, Takeaway and Delivery are ready; review and confirm.
- Taxes — GST presets are already loaded; adjust rates if needed and confirm.
Notice how much comes pre-seeded — payments, service types and GST presets are ready out of the box, so most owners only really spend time on their menu. After the core steps there are optional advanced steps you can do now or whenever you like: store hours, team members and their access, kitchen display and devices, receipt & KOT printers, print settings, WhatsApp bill sharing (free trial credits included), your QR menu, and invoice/GST details.
Every step has a video
Short video walkthroughs are built into the setup for menus, tables, printers, QR menu and more — and they stay available afterwards in the Help Guide, so your staff can self-learn too.
Part 4 — Take a test order and print your first bill
The final setup step is Review & test order: RestroIQ verifies everything in one go, then you punch a test order exactly like a real one — pick items, choose Dine In or Takeaway, settle with any payment type and print or share the bill. If the test order feels right, you are live. From here, orders flow to the kitchen via KOT/KDS, QR ordering works from your guests' phones, and your daily sales summary can arrive on WhatsApp automatically.
The full timeline at a glance
Under 10 minutes from "never heard of it" to a printed bill. And if you ever get stuck, real humans are one message away at buddy@restroiq.com — support is included on every plan, not an upsell.
Start your RestroIQ setup now
Self-serve signup, monthly or yearly plans, guided onboarding and a test bill — all in under 10 minutes. Prefer a walkthrough first? Book a free demo instead.
Frequently asked questions about starting with RestroIQ
How do I start using RestroIQ?+
Go to app.restroiq.com/signup and create your account in 8 quick steps: business name, your name, email + verification code, WhatsApp number + verification code, password, and plan selection. Then follow the guided setup in the dashboard to add your menu and start billing. Most owners finish in under 10 minutes.
How long does RestroIQ setup take?+
Under 10 minutes for most restaurants: about 3 minutes to sign up, 2 minutes to pick a plan and pay, 4 minutes for the guided menu and settings setup, and 1 minute for a test order. Payments, service types and GST presets come pre-configured.
Does RestroIQ have monthly plans, or only yearly?+
Both. On the plan screen you can toggle between monthly and yearly billing for every tier. Yearly plans offer the best price — Lite ₹2,999, Growth ₹5,999 and Pro ₹9,999 per year plus GST — while monthly plans let you start with zero long-term commitment.
Do I need to book a demo or talk to sales to sign up for RestroIQ?+
No. RestroIQ signup is fully self-serve at app.restroiq.com/signup — your workspace activates automatically the moment payment succeeds. A free demo is available at restroiq.com/register if you would like a walkthrough first, but it is never required.
What do I need to sign up for RestroIQ?+
Just a work email address, an Indian mobile number on WhatsApp, and your menu. No GST number is required to sign up (you can add GSTIN and FSSAI later for invoices) and no special hardware is needed — RestroIQ runs on web, Android, iOS and Windows.
Can I import my existing menu into RestroIQ?+
Yes. During the guided setup you can bulk import your entire menu from a ready-made template in one go, or add items one by one. Data import and export are included free on every plan.
Where do I log in to RestroIQ?+
Log in at app.restroiq.com with the email and password you created during signup. Admin sign-in is protected with WhatsApp verification on your registered mobile number.
Is there a RestroIQ free trial?+
When a free trial is available on a plan, it is clearly marked on the plan selection screen and on restroiq.com/pricing, and you can start on the trial before paying. Discount coupons are also supported and applied at checkout.